When you’re driving your ATV for a while, you will notice that things shift and wear down. This causes small changes to your vehicle and can alter how it handles. A common change to an ATV is the alignment of its wheels shifting over time. They slowly change and wiggle out of place as you drive, which causes negative changes to your ATV’s handling. To help you deal with this, all you need to do is realign your wheels. You will need to follow a complete guide to ATV alignment like this one.
When You Should Check Your Alignment
It’s important that you’re on the lookout for any changes to your ATV’s handling; they may indicate problems. However, when it comes to ATV alignment specifically, there are certain things you should be aware of. The major tell is if your ATV starts to drift to one side as you drive—this is due to a bad alignment. Another common symptom of a bad alignment is the handlebars wobbling as you drive. If you notice these things happening, you might need to check your alignment. However, before your check your alignment, there are a few other things you should investigate that cause the same problems. Please note that even if you’re using four-wheeler ATV tracks, wheel alignment is still very important to avoid these problems.
- Bearings: The bearings in your ATV can slowly erode and wear down. This can happen faster if you don’t regularly maintain your bearing. A worn bearing can cause the same drifting as bad alignment.
- Tire Pressure: Low or mismatched tire pressure causes a drift to occur. Make sure that your tires meet the recommended amount of pressure.
- Axle: Although axle problems are rare, they can be a cause of drifting and handlebar wobbling. It’s worth checking if you’re already doing an alignment.
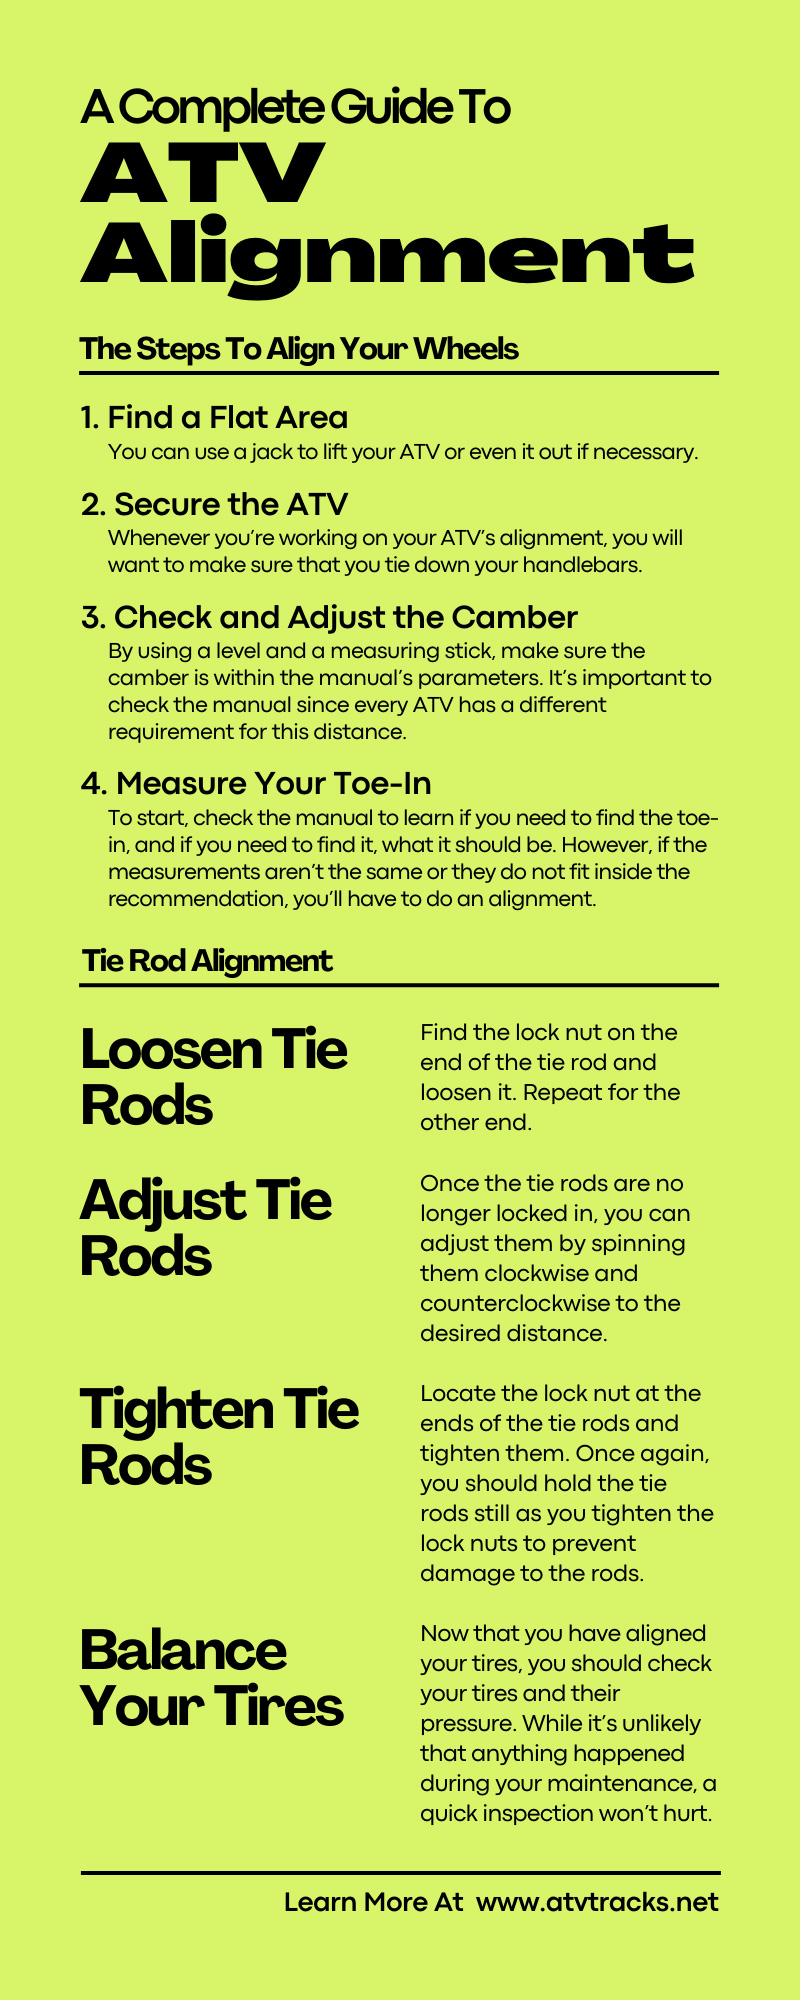
The Steps To Align Your Wheels
- Find a Flat Area. Uneven ground is a horrible place to start an alignment, as it can alter the measurements and cause problems. You don’t need to find a perfectly flat place, but getting an area that’s as even as possible is a good place to start. You can use a jack to lift your ATV or even it out if necessary.
- Secure the ATV. Whenever you’re working on your ATV’s alignment, you will want to make sure that you tie down your handlebars. If they are able to move, the wheels can turn out of place. This can throw off your measurements and make it harder to adjust things. You just need to tie them so they do not move. You can attach them to a wall or even the ATV itself (though this can get in the way). Make sure they’re secure; you don’t want them to come apart as you adjust things.
- Check and Adjust the Camber. Adjusting the camber is a good way to start your alignment, even though it’s technically not part of the alignment process. By using a level and a measuring stick, make sure the camber is within the manual’s parameters. It’s important to check the manual since every ATV has a different requirement for this distance. Adjusting the camber usually means that you have to remove or loosen the castle nut near the ball joint and adjust the ball joint directly.
- Measure Your Toe-In. Not all ATVs have the same requirements—some don’t even use a toe-in; however, for those that do, you’ll need to find its measurements. To start, check the manual to learn if you need to find the toe-in, and if you need to find it, what it should be. Then, take the measurements. One popular method of doing so is to find a long, straight, unbendable object. Once you have the object, hold it against the side of the rear tires and line it up with the front tires so the long object and the front tires are parallel. Measure the distance between the object and the tires. Do this for both sides of the ATV. If the measurements are the same and within the manual’s recommendation, you should be fine. However, if the measurements aren’t the same or they do not fit inside the recommendation, you’ll have to do an alignment.
Alignment
Loosen Tie Rods
If you need to do an alignment, you will have to work on the tie rod to adjust the wheels. Find the lock nut on the end of the tie rod and loosen it. Repeat for the other end. Hold the tie rod in place and use a wrench as you loosen the lock nuts to prevent damage to the vehicle.
Adjust Tie Rods
Once the tie rods are no longer locked in, you can adjust them by spinning them clockwise and counterclockwise to the desired distance. You may need to check the measurements a few times as you do this to make sure you’re getting to the right distance.
Tighten Tie Rods
After you have adjusted the tie rods to the proper distance, you will need to lock them up again. Locate the lock nut at the ends of the tie rods and tighten them. Once again, you should hold the tie rods still as you tighten the lock nuts to prevent damage to the rods. After you finish the adjustments and lock it down, take another measurement of the wheels to make sure it is correct.
Balance Your Tires
Now that you have aligned your tires, you should check your tires and their pressure. While it’s unlikely that anything happened during your maintenance, a quick inspection won’t hurt. Just inspect them for any damage that may have occurred and then check the tire pressure. Make sure that the front and back tires match each other. You can check the manual for the exact amounts that your ATV’s tires should be.
Hopefully, this advice will function as a complete guide ATV alignment for you. If you follow this guide, you should be able to handle any alignment problems you come across.