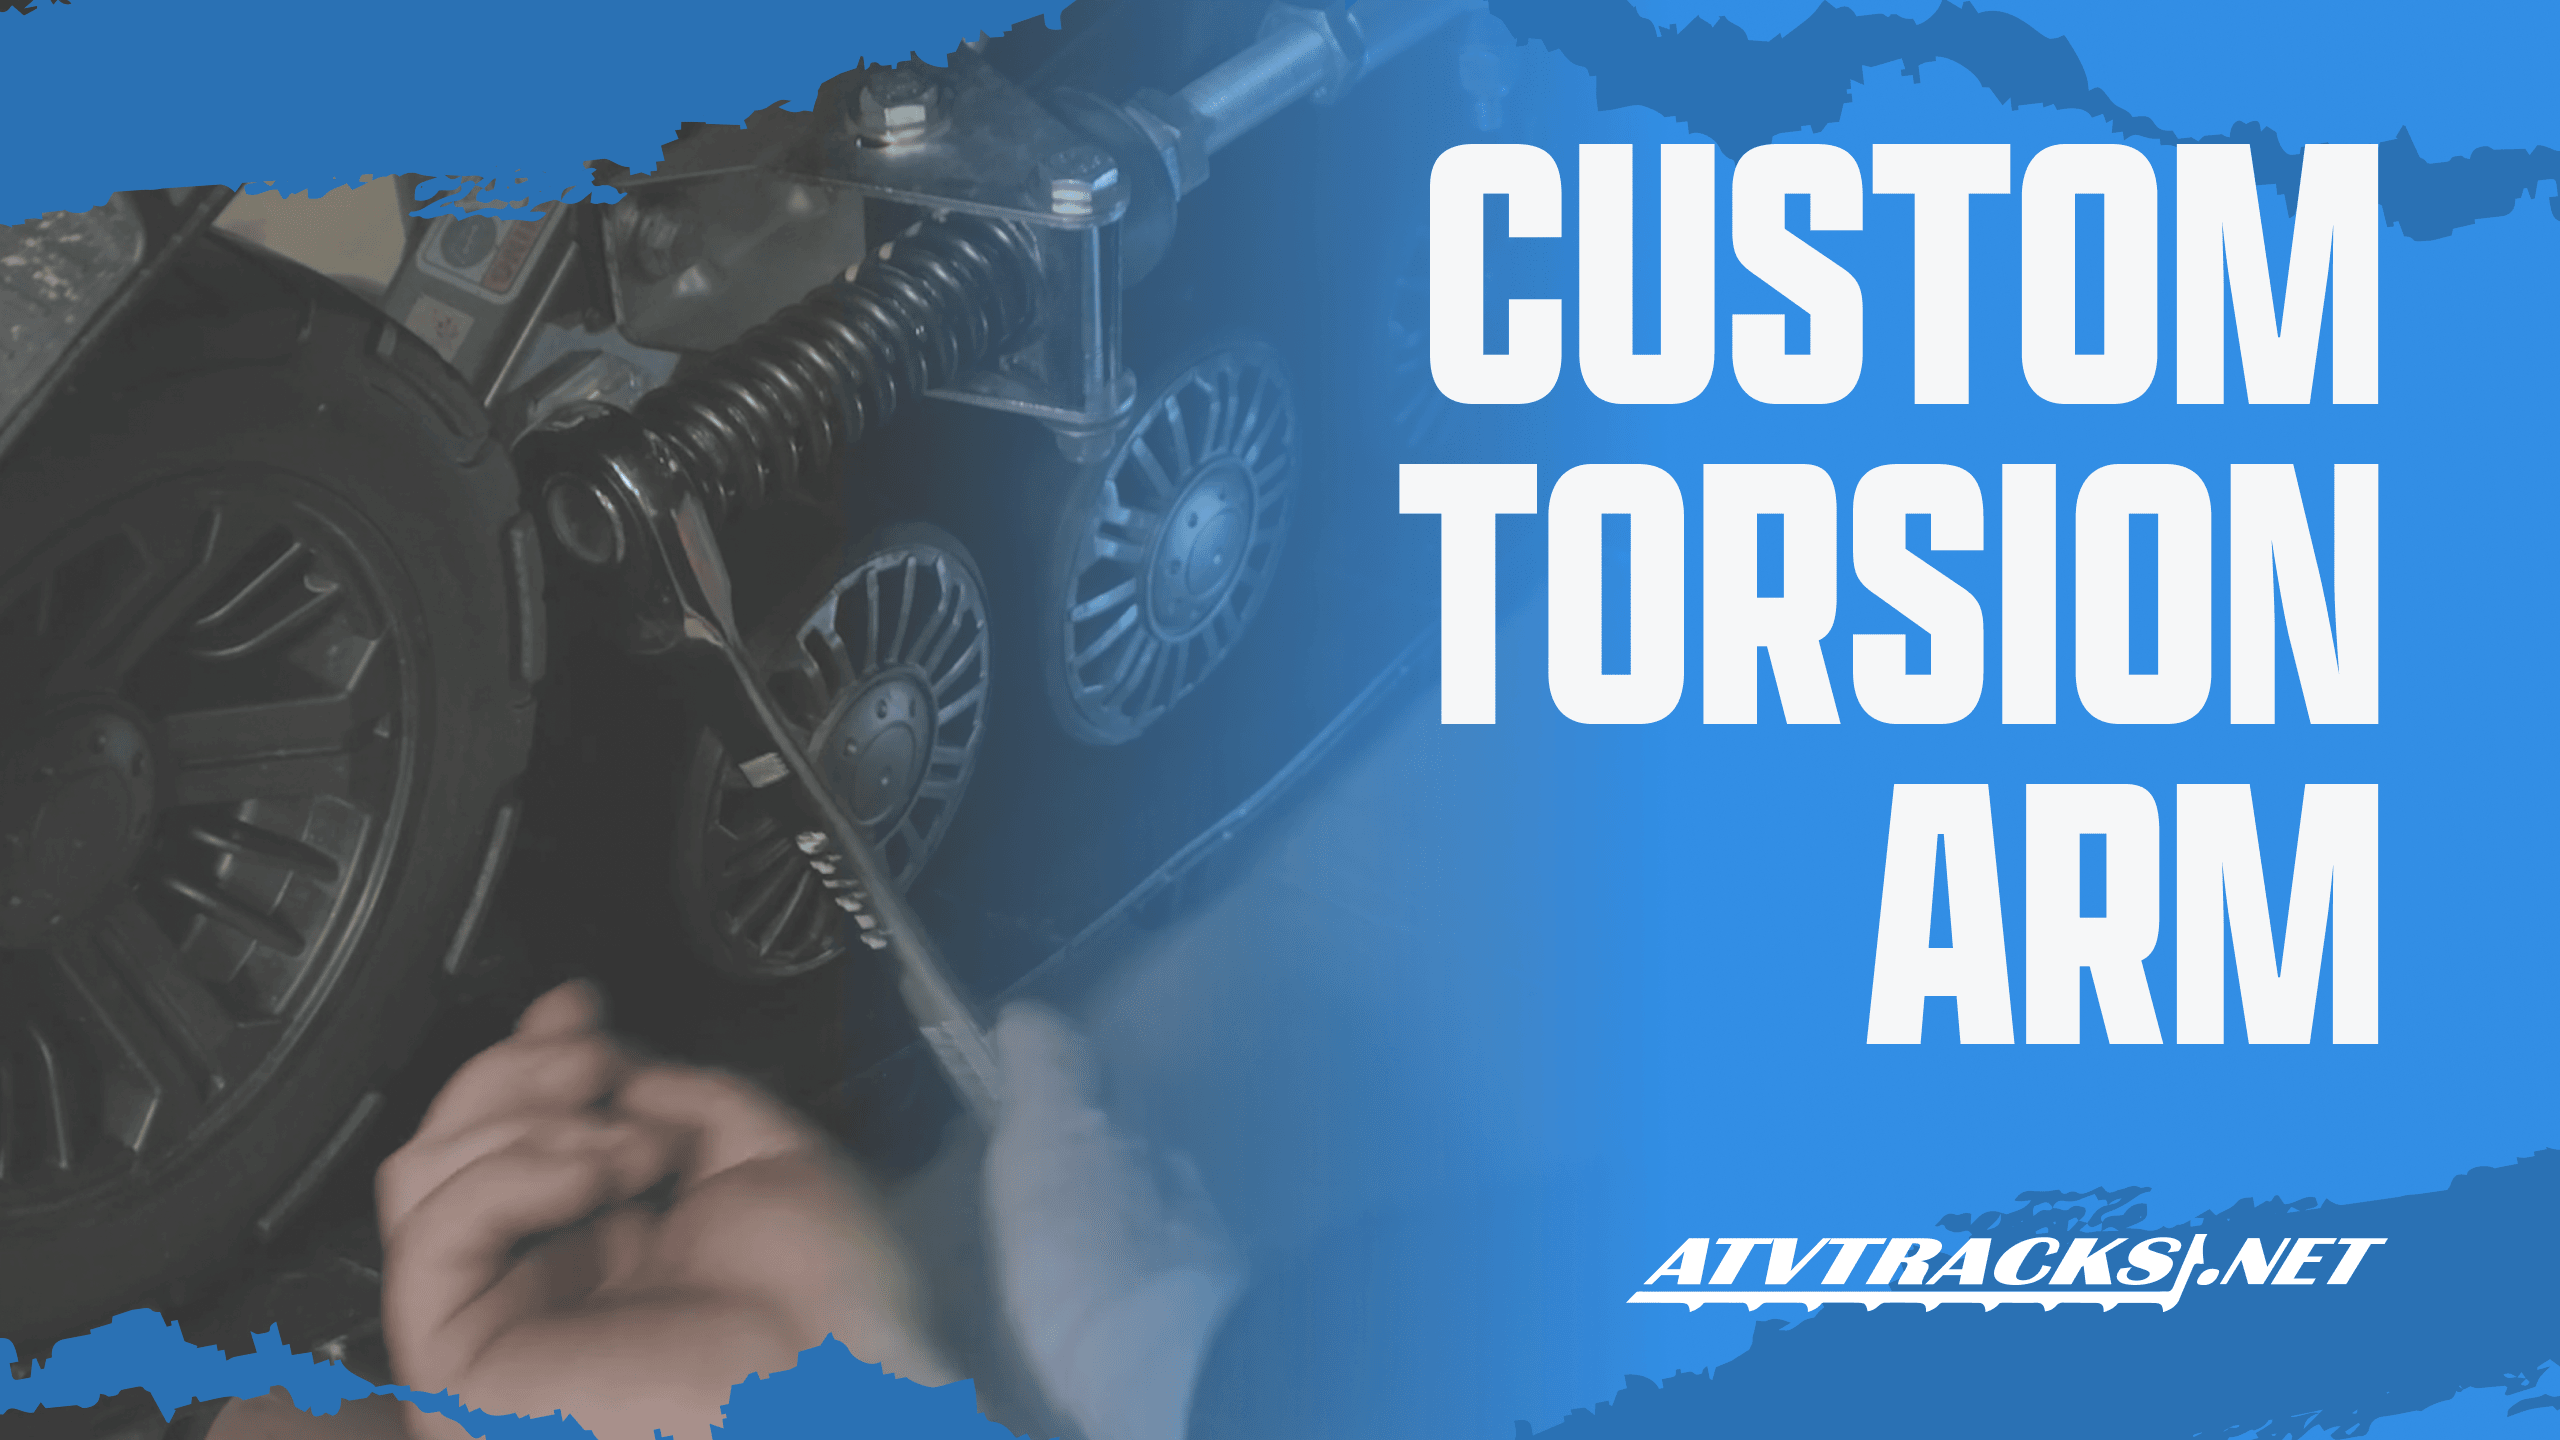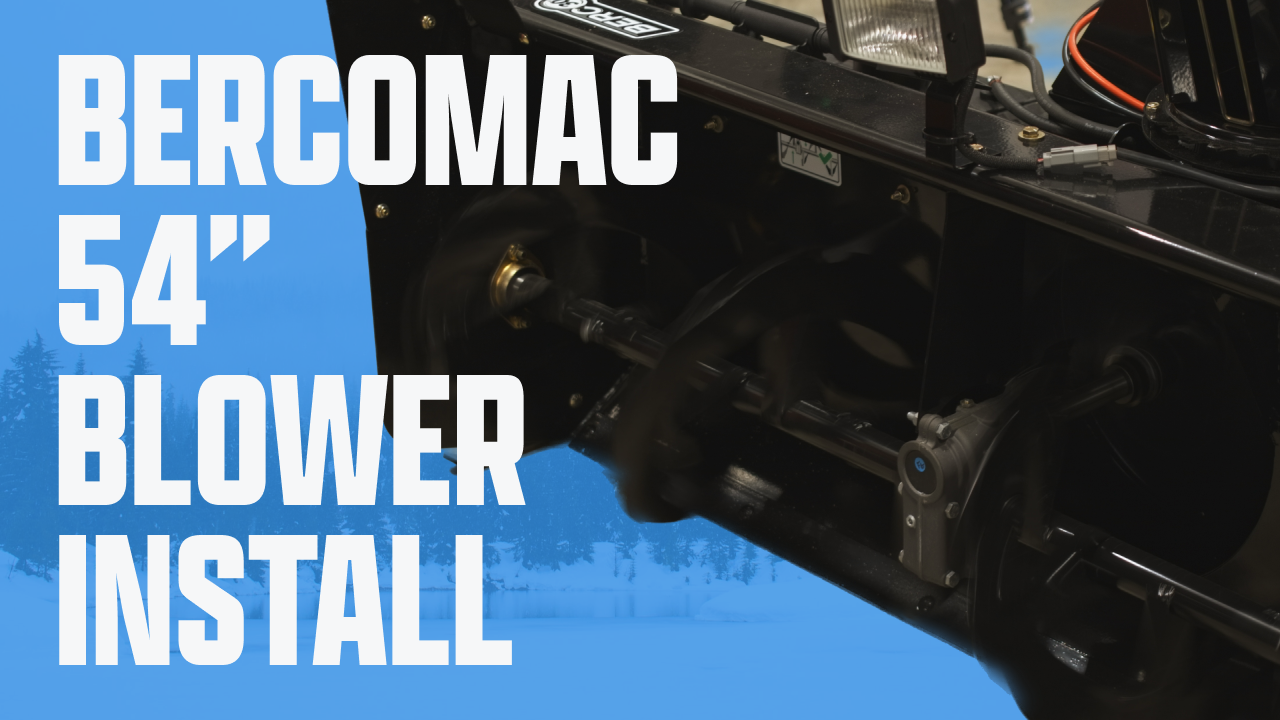
Welcome to ATVTracks.net. In this video, Gary and Nate will demonstrate how to install the Bercomac 54” snowblower with a Honda 22HP engine on a Polaris RZR 800 UTV. This demonstration will include disassembling the snowblower from the box, assembling the frame, assembling the electrical, adding oil and gas to the snowblower, and starting the engine. The box itself is an open crate wrapped in protective plastic. Parts and components are zip-tied into place on the pallet. After the parts have been removed, the crate itself is sawed into sections to allow removing the snowblower from the pallet.
Push Tube Assembly
Unbox the push tube pieces. The assembly comes with the hitch, clamps, nuts and bolts, headlight, snow drift cutters, and battery box. A little secret: the drift pins can be a bit tight. Gary recommends grinding a slight bevel into the pins to ease the assembly.
When installing the hitch assembly, the bevel on the brackets goes to the outside of the assembly. 99% of the time you will use the bottom holes of the assembly, which adjust how tall the hitch will be. When adding the hitch, the bolt goes in the back, and the pin goes in the front. This way when you remove the hitch pin you can raise the hitch from the trailer ball. After the hitch is in place, tighten the bolts on the assembly. Tighten the hitch bolt just enough to allow the hitch to pivot easily.
Next, add the bolts for the anti-rotation assembly, which prevents the snowblower from going sideways. Adding the chain adjustors will allow a more exact fit upon installation.
The push tube assembly needs to be an exact length to fit the UTV. Measure the UTV from a foot in front of the bump to the hitch ball. Then adjust the tube to roughly the measured length. If the push tube isn’t long enough, extenders are available. The example tube was short by 2 feet, so an extender was used to make up the difference. Bolt the push tube to the snowblower. You can use a floor jack to adjust the mounting angle for the best fit.
Drive the UTV over the push tube assembly until approximately a foot of space is between the bumper and the snowblower. The extra space in front of the bumper will allow the snowblower to be tilted up using the winch without hitting the UTV. Adjust the push tube length to fit the UTV. The kit includes straps for hooking up the anti-rotation chains. To use the straps, loop the bracket through the strap and pull tight around the control arm. Then hook the anti-rotation chains to the strap and adjust to the required tension. If using the snowblower frequently, brackets are included that can be attached to the control arm for hooking the chains into place. The brackets provide a stronger point of attachment.
Electrical
The headlamp has a bracket that attaches it to the push tube. Mount the headlamp into place and connect to the electrical system using the supplied attachment. In this example, Bercomac provided a lamp with a 10mm 1.5 bolt, but a 3/8” twist nut. They had to obtain a 10mm 1.5 twist nut to attach the headlamp.
Next, install the battery box. You can use a U1 or U2 type battery. In the example, they use a regular garden battery obtainable from North 40 or other discount retailers. The battery box kit includes cables, tie downs, the box cover and tie downs, and the mounting bracket. The bracket is attached by drilling holes into the push tube and bolting into place. When the bracket is attached properly, it covers a warning sticker on the push tube. The kit includes another sticker with hazard warnings that can be used in the battery box assembly.
All snowblowers come with the necessary cables to attach the snowblower directly to the UTV for electrical. This includes a positive cable that can be wired through the frame and plugged into the UTV using a quick-release pigtail. However, using a battery box eliminates that requirement. However, before attaching the battery, make sure the snowblower key is off (or completely removed from the ignition). Snowblowers can be shipped from the factory with the ignition on.
To mount the box, drill holes and fit the strap brackets. Feed the strap through the brackets and place the box on top of the strap. Put the battery in the box, posts facing the tube, and remove the post covers. Bolt the electrical leads into place on the battery. Zip-tie the cables together and route them to the right side of the battery box. Then place the cover over the battery with the cables leading through a channel at the edge of the cover. Complete the assembly by strapping the cable over the entire assembly and tightening into place.
A control box is included with the snowblower kit. The box can be mounted in the UTV as needed. One mounting point is on the dash in front of the driver. In this example, the box was mounted to the passenger handlebar using a U-bolt. You can customize the mounting for your needs.
Gas, Oil and Go
After assembling the frame, drift cutters, and battery, it’s time to add oil and gas and start the snowblower. It’s a good idea to check the oil on the engine before filling. The factory will test start the engine, and sometimes forget to drain the oil before shipping. In this example they use 1.6 quarts of full synthetic 10W30 motor oil to fill the engine. Next, add gasoline to the tank.
Before proceeding, it’s a good idea to check the pressure of the tires. The tires in this example need 50 pounds of pressure to function properly. If the pressure gets down to 30 pounds, you can bend the wheels. There are also grease fittings above the wheel and at the bearing. It’s important to grease those before use.
To start the engine, set the throttle to choke and pull out the choke. Turn the key to start. Push in the choke and adjust the throttle as needed. The control box includes a kill switch, a headlamp switch, an augur control, and power to the blades. The augur can be adjusted side-to-side, as well as up and down.
Conclusion
In this demonstration, we unboxed and assembled a Bercomac 54” snowblower with a Honda 22HP engine. We then mounted the snowblower on a Polaris RZR 800 UTV. The assembly itself is detailed in three sections – push tube assembly, electrical assembly, and filling vital fluids for starting the engine. Gary has included some valuable tips about the assembly itself, as well as examples of vital information needed for the assembly and operation of the snowblower. We hope you have enjoyed this presentation. As always, you can call us at (866) 243-8359 with questions for our experts or visit our website at atvtracks.net to shop for the perfect track system or snowblower. We are here for you!